


Soil nailing is a ground improvement technique that is used to reinforce soil to make it more firm. It is used for slopes, retaining walls, excavations, and many more to make it firm. The faces of steep slopes are usually protected by shot-firing cable and mesh for temporary works and by either cast-in-place concrete or prefabricated panels for permanent applications.
For facile reinforced slopes, the surface can be protected by mesh reinforcement. It is used to balance the slopes or unearthing where required slopes for unearthing cannot be provided due to space restriction and construction of retaining wall is not practicable. This is an alternative to retaining wall structures.
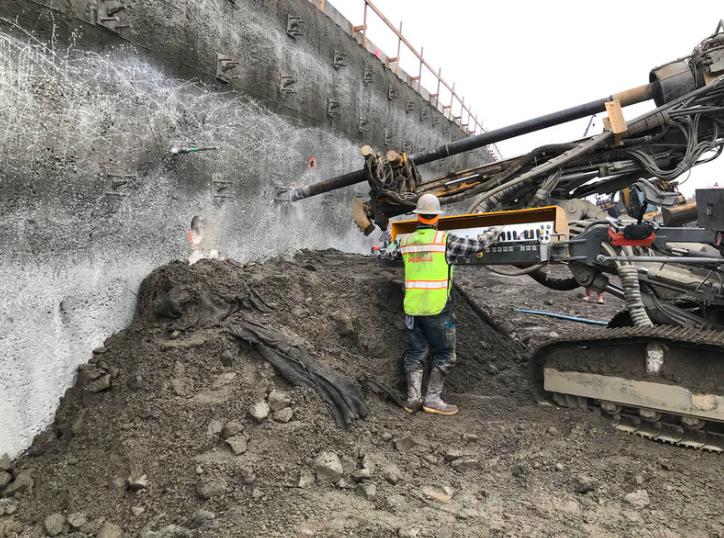
The principle of the Soil Nailing process is the rods are passive reinforcement which, when the dig face begins to strain, generate tensile forces and shearing resistance to counter the yield of the soil. Faces of steep slopes are usually protected by the application of shot-firing cable, concrete so as to face the reinforcing steel or nails. This thing provides stability to the steep soil slope.
Description of Soil Nailing :
These walls are normally constructed from top-down. The soil is dug in 3 to 6 feet deep stages. Nearly horizontal holes are drilled in the centers into the uncovered face after every digging stage. Tension-resisting steel bars are placed into the holes and plaster in place.
A drainage system is installed on the uncovered face, followed by the application reinforced shot-firing cable facing. Posture plates are then fixed to the heads of the soil nails. This fitting process is explained above is repeated until the design wall depth is obtained. The completed soil nails create a zone of reinforced ground that is solid.
Merits of Soil Nailing :


- This is suitable for cramped sites with difficult access because the construction equipment required for soil nail installation is small and mobile.
- The soil nails can be installed from crane-suspended working platforms for already existing steep slopes like bluffs.
- While construction, causes less environmental impact when compared to cutting back and retaining wall construction as no major earthworks and tree felling are needed.
- There could be cost-saving and time compared to normal techniques.
- The failure mode of this system is of adaptable nature hence providing warning signs before failure.
Limitations :
- Metal soil nails will wear down.
- The presence of service, underground structures, or other hidden barriers poses restrictions to the length and layout of soil nails.
- The zone which is occupied by the soil nails is disinfected and the site poses restrictions to future development.
Technique process :
In this technique, the soil is reinforced with slim elements like reinforcing bars which are called nails. These reinforcing bars are installed into pre-drilled holes and then mortar. Moreover, these nails are installed at a tendency of 10 to 20 degrees with vertical.
Types of techniques :
- Drilled and grated this method.
- Driven this method.
- Self-drilling this method.
- Jet grouted this method.
- Launched this method.
- Applications of this method.
Installation considerations :
- Soil Nails must make a hole beyond the slip plane into the non-resistant zone typically for 4 to 5m.
- The spacing of soil nails in the horizontal or vertical directions must depend on the strength of the soil. Extra soil nails get installed at the edge of any surface where it is being balanced.
- Finally, Soil nailing should start immediately after unearthing. Any delay leads to the collapse of the soil slope.